Top 5 DIY Painting Project Fails
And How to Avoid Them
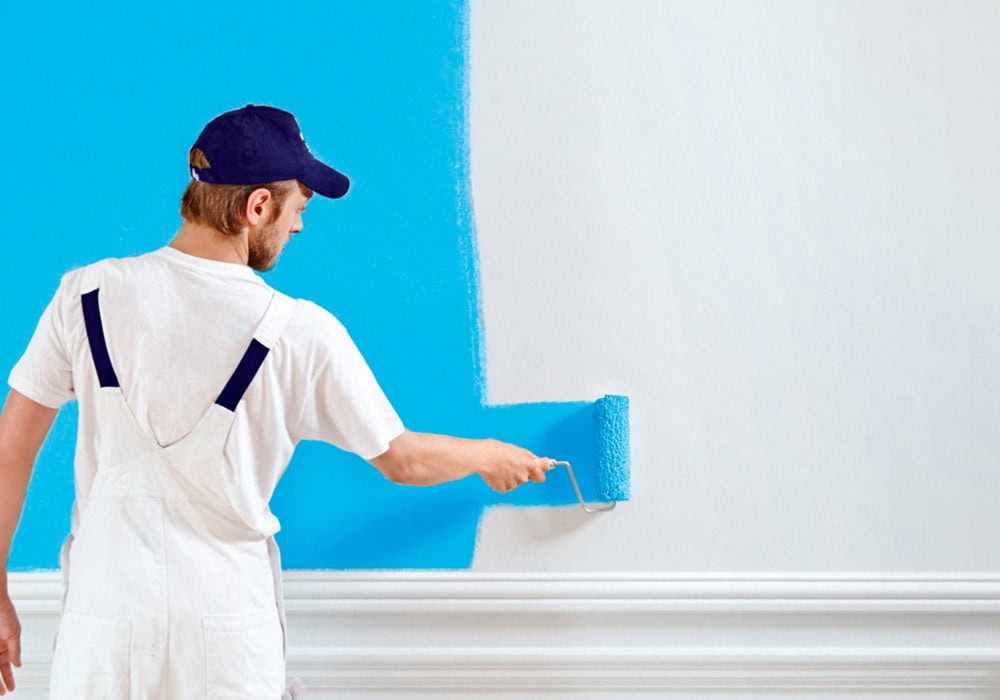
With their affordability and potential for satisfaction, DIY painting projects offer a unique opportunity to revitalize your living space. You can transform any room in your home with a brush, paint, and a dash of creativity. However, the journey to a beautiful finish is not without its challenges. In this blog, we will delve into the top five do-it-yourself (DIY) painting project fails, why they occur, and, most importantly, how to steer clear of them. Doing so ensures that your efforts culminate in a professional-quality finish you can be proud of.
Fail #1: Skipping Proper Preparation
The Importance of Prep Work
Proper preparation is the bedrock of any successful painting project. Unfortunately, many DIY painters rush through or completely overlook this crucial step, leading to less-than-ideal results. By understanding the importance of preparation, you can equip yourself with the knowledge needed to avoid this common pitfall.
Common Preparation Mistakes
- Not Cleaning Surfaces: Dirt, grease, and dust can prevent paint from adhering correctly, resulting in a patchy finish.
- Ignoring Repairs: If not addressed beforehand, small cracks, holes, and imperfections become more noticeable once painted.
- Skipping Sanding: Glossy surfaces must be sanded to allow new paint to adhere.
How to Avoid This Fail
- Clean Thoroughly: Use a mild detergent or specialized cleaner to remove grime. Rinse and let dry completely.
- Repair Imperfections: Fill holes or cracks with spackle or filler and sand smooth once dried.
- Lightly Sand Surfaces: Sand glossy areas lightly to create a roughened surface that the paint can grip.
- Prime the Surface: Apply a primer suitable for your surface to provide a uniform base for the paint.
Fail #2: Choosing the Wrong Paint and Tools
Why Product Choice Matters
Choosing the right paint and tools is pivotal in achieving a high-quality finish. Using the wrong products can result in poor coverage, streaks, and a final look that doesn’t stand the test of time. By making informed choices, you can ensure that your painting project is a success, leaving you feeling confident and capable.
Common Mistakes in Product Selection
- Using Cheap Brushes and Rollers: Low-quality tools can leave behind streaks and shed bristles, making painting more difficult.
- Selecting the Wrong Paint Type: Using interior paint on exterior surfaces or vice versa can lead to peeling and fading.
- Ignoring Sheen: The wrong sheen can highlight imperfections or fail to provide the durability needed for high-traffic areas.
How to Avoid This Fail
- Invest in Quality Tools: Purchase high-quality brushes, rollers, and painter’s tape. The right tools can significantly affect the outcome.
- Choose the Right Paint Type: Ensure the paint you select is appropriate for the specific surface and location (interior, exterior, wood, metal, etc.).
- Consider the Finish: Select the appropriate sheen (flat, eggshell, satin, semi-gloss, gloss) based on the room’s function and desired aesthetic.
Fail #3: Not Testing the Color
The Impact of Lighting
Paint colors can appear differently under various lighting conditions. To avoid a disappointing result, you must test the color before committing to it.
Common Mistakes in Color Testing
- Skipping Samples: Relying solely on paint chips without testing in the room can be misleading.
- Testing in One Spot: Colors can look different in shaded versus well-lit areas, so more than testing in one spot is needed.
How to Avoid This Fail
- Use Paint Samples: Purchase small sample cans of your chosen colors and apply them to the walls.
- Test in Multiple Areas: Paint swatches on different walls to see how the color looks in various lighting conditions.
- Observe at Different Times: Check the samples throughout the day to see how natural and artificial light affect the color.
Fail #4: Applying Paint Incorrectly
Technique Matters
Even with the right paint and tools, improper application can lead to a messy, unprofessional finish. Uneven coats, drips, and lap marks are common issues.
Common Application Mistakes
- Overloading the Brush or Roller can cause drips and uneven application.
- Applying Uneven Coats: Inconsistent pressure and technique can result in streaks and lap marks.
- Skipping Drying Time: Not allowing sufficient drying time between coats can lead to uneven texture and peeling.
How to Avoid This Fail
- Load Properly: Dip your brush or roller lightly and remove excess paint.
- Use Consistent Pressure: Apply even pressure and overlap strokes slightly to avoid lap marks.
- Follow Drying Times: Adhere to the manufacturer’s recommended drying times between coats to ensure proper adhesion and a smooth finish.
Fail #5: Neglecting Proper Cleanup
The Aftermath of Painting
Neglecting cleanup can ruin your hard work and make future projects more difficult. Dried paint can harden brushes and rollers, while spills and splatters can damage floors and furniture.
Common Cleanup Mistakes
- Not Cleaning Tools Immediately: Paint can dry quickly, making brushes and rollers unusable.
- Skipping Protective Measures: Not using drop cloths or painter’s tape can lead to extensive cleanup efforts.
- Improper Storage: Incorrectly storing leftover paint can make it unusable later.
How to Avoid This Fail
- Clean Tools Promptly: Wash brushes and rollers immediately after use with the appropriate solvent (water for latex paint, mineral spirits for oil-based paint).
- Protect Surrounding Areas: Use drop cloths, plastic sheeting, and painter’s tape to catch drips and splatters.
- Store Paint Correctly: Seal paint cans tightly and store them in a cool, dry place to ensure they remain usable for touch-ups or future projects.
DIY painting projects can be advantageous, offering a cost-effective way to refresh your living space and add a personal touch to your home. However, the path to a beautiful finish is filled with potential pitfalls. By avoiding these familiar painting fails—skipping proper preparation, choosing the wrong paint and tools, not testing the color, misapplying paint, and neglecting cleanup—you can achieve a professional-looking result that transforms your space.
Remember, taking the time to prepare, selecting quality materials, and following best practices will pay off in the long run. So, gather your supplies, plan your project, and approach your painting with care and attention to detail for a flawless finish.
Do you have any specific questions, need further details on painting techniques, or need product recommendations? Feel free to contact us for personalized advice and tips!
At Stellar Painting, we know DIY painting projects can sometimes be challenging. By avoiding common pitfalls, you can achieve professional results. If you need expert advice or prefer to leave it to the pros, our experienced team is here to help. Contact Stellar Painting today for reliable and high-quality painting services to enhance your home’s appeal