Painting Kitchen Cabinets: Why Prep and Product Decide the Result
Cabinets are the hardest-working painted surface in a Fort Worth home. They get grabbed, bumped, splashed and wiped every day, and a wall paint applied with a roller will not survive that. The cabinet jobs that look new a decade later all share the same recipe: thorough prep, a bonding primer, a hard-curing cabinet enamel, a sprayed finish, and patience while it cures. Here is the process Stellar Painting follows and why each step is there.
Step 1: Remove the doors, drawers and hardware
Every door and drawer front comes off, is labeled by location, and is finished flat in a controlled area. Hinges and pulls are removed, not masked. Painting around hardware or with doors hanging leaves drips, thin edges and bare spots at the hinge cups.
Step 2: Degrease
Kitchen cabinets carry a film of cooking oil you cannot see. Paint applied over it will peel in sheets. Every surface is cleaned with a degreaser, rinsed, and dried before any sanding. This step is the one most often skipped, and it is the most common reason painted cabinets fail.
Step 3: Sand or degloss, and fill
Factory finishes and old enamels are slick. The surface is scuff-sanded to give the primer something to grip, or treated with a liquid deglosser where sanding is impractical. Dents, chips and old hardware holes are filled and sanded flush. On oak, the open grain can be filled if you want a smooth, modern look, or left to show if you like the texture.
Step 4: Bonding primer
A primer formulated to adhere to hard, slick surfaces and to block tannins in wood. It is applied thin and even, then lightly sanded. Skipping primer or using a general-purpose wall primer is the second most common cause of chipping.
Step 5: Cabinet enamel, sprayed
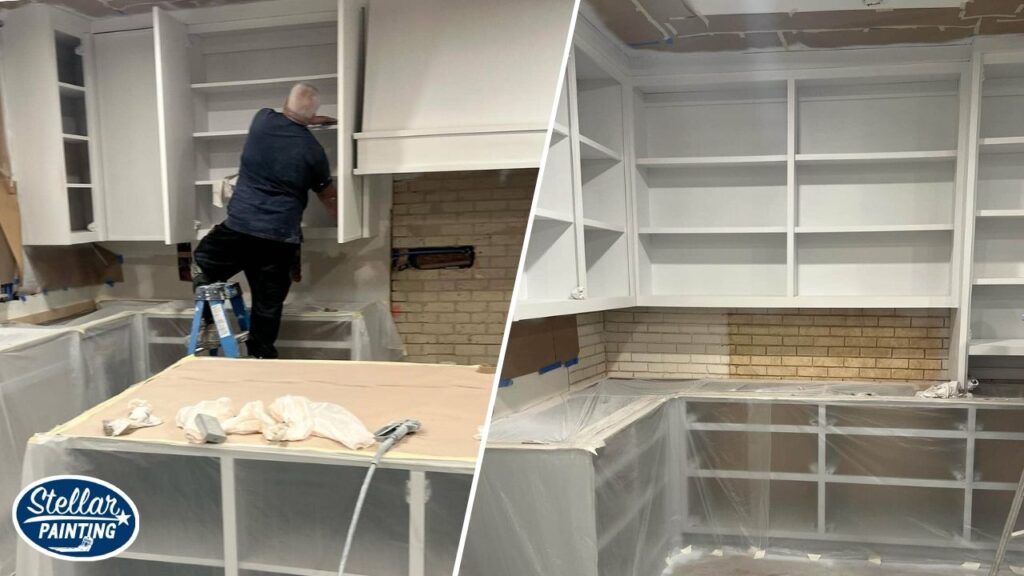
Cabinet-grade enamels, waterborne alkyd or urethane-fortified acrylics, cure much harder than wall paint and resist blocking, which is doors sticking to frames. Two or more coats are sprayed with a fine-finish tip for a smooth, factory-like surface, with light sanding between coats. Boxes and face frames in the kitchen are masked and sprayed or carefully brushed with the same product.
Step 6: Cure before use
Dry to the touch is not cured. Cabinet enamel reaches handling hardness in a day or two and full hardness over two to four weeks. Doors go back on when they can be handled safely; the kitchen should be used gently for the first couple of weeks: no slamming, no heavy scrubbing, no bumper pads pressed against fresh paint.
Timeline
A typical kitchen takes one to two weeks from removal to reinstall, with the kitchen usable in between because the boxes are finished early and the doors are off site. The estimate gives you the schedule for your kitchen.
What it costs relative to the alternatives
Professional cabinet painting is a fraction of refacing and a small fraction of replacement. The cost is mostly labor, and that labor is the prep. A low bid on cabinets is almost always a bid that skips degreasing, priming or spraying.
Colors and sheen
White, off-white and greige lead, with navy, deep green and black islands and vanities increasingly common. Satin and semi-gloss enamel hide fingerprints better than high gloss and clean easily. Stellar’s color consulting matches the cabinet color to your counters, backsplash and floors; our cabinet painting page shows a Fort Worth kitchen with white perimeter cabinets and a dark green island.
When painting is not the answer
Peeling thermofoil, water-swollen particleboard boxes, and doors that are warped or broken need refacing or replacement. We will tell you on the estimate.
Caring for painted cabinets
Wipe with a damp cloth and mild soap, not abrasive pads or strong degreasers. Fix dings promptly with the touch-up paint we leave you. Keep the dishwasher’s steam vent from blasting the adjacent door.
Get a cabinet estimate
Stellar Painting paints kitchens and vanities across Fort Worth, Keller, Benbrook, Aledo and the surrounding cities. The estimate is free. Call (682) 233-3748 or schedule online.