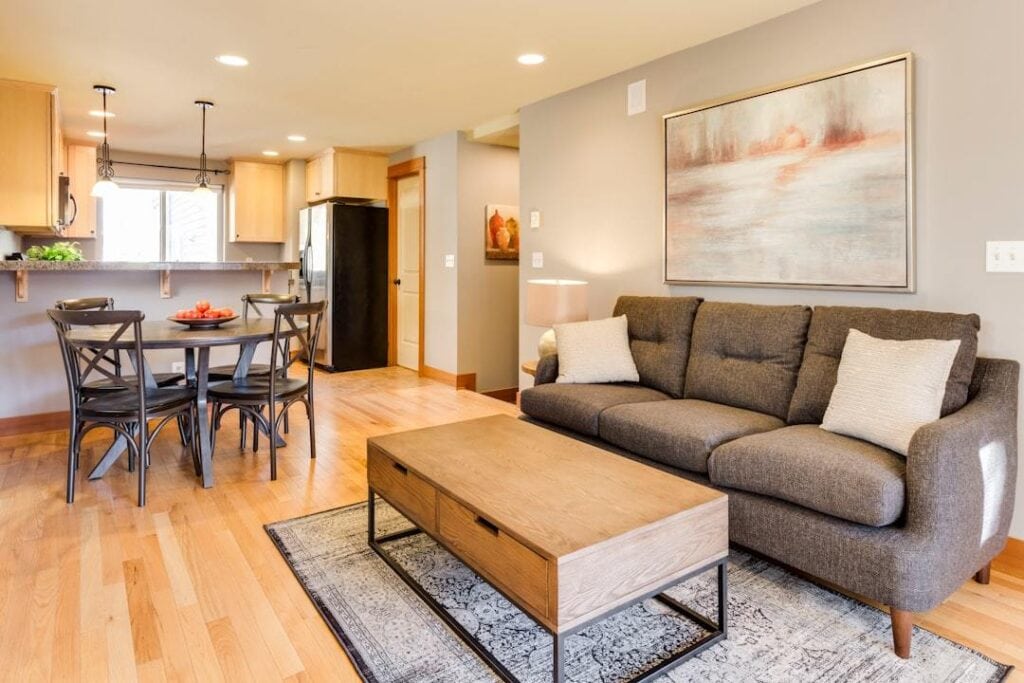
Top Tips for DIY Painting Wood Furniture
Transforming wood furniture with paint isn’t just a project; it’s an art form that brings new life to old pieces. Guiding you through vital preparation techniques, we guarantee your project will boast a craftsmanship akin to that of an expert. Choosing the right paint is crucial for both adherence and durability while selecting the perfect brushes can make or break your project. You’ll master painting techniques that elevate your furniture from mundane to magnificent and learn how to shield your masterpiece from wear and tear. Moreover, we confront typical challenges directly, offering strategies that iron out the wrinkles in your journey. Ready for some inspiration? We’ve got plenty of ideas to spark your creativity.
Table of Contents:
- Essential Preparation Steps for Painting Wood Furniture
- Choosing the Right Paint for Wood Furniture
- The Art of Brush Selection and Usage
- Mastering Painting Techniques for Wood Furniture
- Protecting Your Painted Wood Furniture
- Navigating Common Painting Challenges
- Inspirational Ideas for Painting Wood Furniture
- FAQs in Relation to Top Tips for Painting Wood Furniture
- Conclusion
Essential Preparation Steps for Painting Wood Furniture
Jumping into painting wood furniture without prep is like trying to bake a cake without preheating the oven; you might get something edible, but it won’t be what you hoped for. A spotless outcome hinges on the diligence of your groundwork.
Cleaning is Key
Before dreaming about color schemes, start with a clean slate. Use a gentle cleaner to remove dust and grime from your furniture piece. This step ensures that your paint adheres properly and doesn’t look like it’s been applied over last week’s dinner leftovers.
A simple mixture of water and mild detergent usually does the trick, but make sure the wood dries completely before moving on. For pieces with years of buildup, specialized wood cleaners can help restore their original glory.
Sanding Smooths the Way
Sanding, far from being mere drudgery, plays a crucial role in eliminating ancient coatings or coarse patches that might spoil your painting endeavor. Start with medium-grit sandpaper and work up to fine-grit paper to achieve an ultra-smooth surface.
This step also opens up the pores of the wood, letting it grip onto every drop of paint better than my grandma holds onto her secret cookie recipe.
Tackling Repairs Before You Paint
Nicks? Cracks? Loose legs? Fix these issues now because paint isn’t spackle—it won’t hide or mend structural problems. A bit of wood filler can patch holes while some glue can tighten loose joints.
If you tackle repairs before painting, you’ll not only have furniture that looks good but also lasts longer—a double win.
Remember: Great results start long before you dip your brush in paint. These steps aren’t glamorous by any means but skip them at your peril. With everything cleaned, sanded, and repaired ahead of time though, you’re setting yourself—and your furniture—up for success.
Choosing the Right Paint for Wood Furniture
Picking the perfect paint for wood furniture isn’t just about slapping on your favorite color. Selecting the ideal paint for wooden furnishings transcends mere preference, blending craftsmanship, methodological precision, and a touch of enchantment. Think of it as matching your zodiac sign with a compatible partner; when it’s right, everything just flows.
The Lowdown on Paint Types
First up, let’s talk latex versus oil-based paints. Latex paint is like that friend who’s easy to get along with—water-soluble, quick-drying, and forgiving if you make mistakes. Oil-based paint is more like the friend who takes forever to get ready but looks flawless in the end—it takes longer to dry and requires mineral spirits for cleanup but delivers durability that’s hard to beat.
If you’re leaning towards eco-friendliness or have ventilation concerns, water-based acrylics are your best bet. They’re less smelly than their oil counterparts and come in a low-VOC (volatile organic compounds) option which means they’re kinder to both you and Mother Earth.
Finishes Matter Just As Much
Once you’ve picked between Team Latex or Team Oil-Based, consider how shiny you want your piece to be. Finishes range from matte—think velvet sophistication—to high-gloss—the equivalent of patent leather shoes shining under disco lights.
A satin finish hits that sweet spot where it offers some sheen without being too flashy while also hiding imperfections better than its glossier cousins can manage because nobody needs their coffee table highlighting every fingerprint left behind by guests.
Bob Vila’s guide on furniture paints dives deeper into these choices.
Navigating Colors Like A Pro
Selecting colors is more than grabbing shades willy-nilly; it demands consideration of room themes (does this turquoise chair belong in my industrial-themed living room?), lighting (will this dark blue look black at night?), and personal style.
To avoid overwhelm, think about what vibe each space embodies—a calming bedroom might call for softer tones whereas a vibrant playroom could handle bolder hues.
If indecision strikes, This Old House has fantastic tips on choosing paint colors that resonate well beyond “I guess I’ll go with white again.”.
The Art of Brush Selection and Usage
Choosing the right brush for painting wood furniture isn’t just about grabbing any old tool off the shelf. Deciding on the perfect brush is a pivotal choice that could either elevate your project or lead to its downfall.
Finding Your Perfect Match: Natural vs Synthetic Brushes
When it comes to painting wood, not all brushes are created equal. Natural bristle brushes, made from animal hair, are ideal for oil-based paints. Their softness and flexibility allow for smooth application without leaving streaks.
Synthetic brushes, on the other hand, excel with water-based paints like latex. Crafted for maintaining their form and ensuring an even spread of paint over challenging areas, they’re ideal for revamping that dresser you’ve been contemplating.
A deep dive into brush types reveals more than meets the eye; this article by This Old House offers further insight into selecting between natural and synthetic options based on your specific needs.
Bristle Shape Matters More Than You Think
Different projects call for different bristle shapes—and knowing which one to use can save you a lot of headaches down the line. For detailed work or getting into those pesky corners, angled sash brushes are worth their weight in gold. Their slanted edges offer precision where it counts most.
Is covering large flat areas what you’re after though? Look no further than flat sash brushes—their straight bristles ensure consistent coverage without missing spots or overloading sections with too much paint.
To get familiar with how these shapes influence your outcome, The Spruce has an excellent guide explaining how each type impacts application techniques and results.
Mastering Painting Techniques for Wood Furniture
Painting wood furniture isn’t just about slapping on a coat of paint and calling it a day. It’s an art that, when done right, can transform any piece from blah to wow. But to achieve that stellar finish, you need the right techniques up your sleeve.
Choosing the Right Paint for Wood Furniture
The first step in achieving a professional look is selecting the best type of paint. While latex paints are popular due to their easy cleanup and drying time, oil-based paints offer unparalleled durability and smoothness that many find worth the extra hassle. Chalk paint, now a crowd favorite for its velvety texture and low-effort preparation, steps into the spotlight. To navigate the maze of options for your next painting project, immerse yourself in this detailed exploration crafted by This Old House.
Durability should be top of mind because furniture undergoes more wear and tear than other painted surfaces in your home. Opting for semi-gloss or gloss finishes not only adds a beautiful sheen but also provides an easier surface to clean.
The Art of Brush Selection and Usage
Your brush choice can make or break your painting project. Natural bristle brushes are ideal for oil-based paints; they help achieve a smooth application without leaving brush marks behind. On the flip side, synthetic brushes pair well with water-based paints like latex or chalk paint because they don’t absorb moisture as natural fibers do.
To avoid visible strokes, especially with lighter colors investing in high-quality brushes pays off in spades—painting dividends through smoother applications and fewer touch-ups down the line.
Navigating Common Painting Challenges
Bleed-through is one headache most painters encounter when working with wood furniture—it’s when previous stains seep through new layers of light-colored paint.
A primer specifically designed to block stains will save you from multiple coats trying (and failing) to cover those stubborn spots.
Another challenge? Drips.
They’re pesky but preventable: apply thin layers instead of glopping on thick ones all at once.
For tackling these common issues head-on including how-tos around avoiding them altogether check out tips shared by professionals at Family Handyman.
Protecting Your Painted Wood Furniture
Choosing the Right Sealant
After putting in the effort to paint your wood furniture, you’ll want to make sure it stands up against time and use. The key? A good sealant. Think of sealants as sunscreen for your furniture; they block harmful elements while keeping the beauty intact.
Different projects call for different finishes. For high-traffic items like dining tables or chairs, a polyurethane finish can provide durability and resistance to water and scratches. On the other hand, wax bestows a gentler sheen perfect for items less exposed to rigorous use yet requiring safeguarding.
If you’re looking for more environmentally friendly options, water-based polyurethanes and natural waxes are worth considering. They offer solid protection without the harsh chemicals found in traditional products.
Maintaining Your Finish
To keep your painted wood furniture looking its best, regular maintenance is crucial. Dusting with a soft cloth prevents buildup that can scratch surfaces over time. And when spills happen – because let’s face it, they will – wiping them up promptly avoids potential damage.
Avoid using harsh chemical cleaners which can strip away finishes and dull colors over time. Instead, opt for gentle cleaning solutions specifically designed for painted wood surfaces. Just a simple change like this can significantly protect the lively look and structure of your item.
Avoiding Common Pitfalls
We’ve all heard horror stories about yellowing paint or peeling finishes on beautifully crafted pieces gone wrong. Often, these issues stem from skipping steps during preparation or choosing the wrong products. So, before diving into any project, do some research. Articles discussing how to properly prepare and protect painted furniture offer invaluable insights gleaned from professionals’ firsthand experiences. Armed with this knowledge, you’ll sidestep common mistakes ensuring lasting beauty. And isn’t that what we all want? To create something beautiful today that remains just as stunning tomorrow?
Navigating Common Painting Challenges
Painting wood furniture throws curveballs even to the pros. But don’t sweat it; every challenge has a solution.
Bleed-Through Stains: The Unwanted Surprise
Ever start painting and notice pesky stains bleeding through? It’s like playing whack-a-mole but with paint. This often happens with vintage pieces that have seen some life. To combat this, apply a stain-blocking primer before your main coat. Products like Zinsser’s B-I-N Shellac-Based Primer work wonders for sealing in those stubborn spots.
The key here is patience—let the primer fully dry before you go in with your topcoat. Hastening the process might transform your work of art into chaos.
Drips and Runs: A Slippery Slope
No one likes drips, especially on their freshly painted cabinet that was supposed to look straight out of a magazine. The culprit? Often it’s too much paint on the brush or roller. Here’s where less is more comes into play.
To avoid this slippery slope, dip just the tip of your brush into the paint and offload excess onto cardboard or scrap wood first. Remember, multiple thin coats trump one thick coat any day for achieving that smooth finish we all crave.
Tacky Finish: When Paint Just Won’t Dry
A tacky finish feels like walking through molasses—you’re stuck without knowing why. Humidity plays the villain in this scenario by slowing down drying times considerably.
To sidestep this sticky situation, check weather forecasts before starting and choose low-humidity days if possible.
If Mother Nature isn’t cooperating, a dehumidifier can be your best friend. This helps speed up drying times so you won’t be left checking if it’s still tacky every hour on the hour.
Inspirational Ideas for Painting Wood Furniture
Wood furniture isn’t just something to sit on or eat off of; it’s a canvas waiting for your creativity. Think about that old dresser in the attic or the wooden chair in the garage. With a bit of paint and imagination, they could be transformed into pieces that wow.
Going Bold with Colors
Picking the right color can breathe new life into an old piece. Don’t shy away from bold choices like electric blue or sunny yellow. Opting for hues such as electric blue or sunny yellow can transform a mundane item into an eye-catching centerpiece, infusing any space with energy. Remember, if you ever change your mind, it’s just paint; you can always redo it.
If choosing one color seems daunting, why not pick several? Creating an ombre effect by blending colors from light at the top to dark at the bottom gives depth and interest to your furniture.
The Magic of Patterns and Designs
Beyond solid colors lie patterns – stripes, chevrons, florals – which open up endless possibilities for customization. Stencils are great tools here but don’t underestimate freehand painting for adding personal touches no one else will have.
A unique idea is using painter’s tape to create geometric designs on tabletops or drawer fronts. Employing this method, even the most skeptical of their creative prowess can manifest sharp contours and outcomes that bear a professional veneer.
Adding Texture for Depth
Last but not least is texture: think beyond smooth finishes. Techniques such as distressing give the wood an aged look full of character while crackle mediums create an antique vibe without spending years hunting through flea markets.
Mixing techniques — say distressed edges with a smoothly painted surface — make pieces feel custom-crafted rather than off-the-shelf generic items turned DIY projects gone wrong.
Initiating with these concepts our foundation can metamorphose mundane wooden furnishings into exceptional heirlooms that mirror individual flair and imaginative insight.
FAQs in Relation to Top Tips for Painting Wood Furniture
Is it better to paint wood furniture with a roller or brush?
Use a brush for detail work and small pieces. Rollers cover large areas fast but can miss the details.
How do you get the perfect paint finish on furniture?
Sand between coats, use high-quality brushes and don’t rush. The right prep makes all the difference.
How long should you wait between coats of paint on furniture?
Wait at least 24 hours. It’s tempting to hurry, but patience pays off with smoother finishes.
What is the best paint to use on real wood furniture?
Oil-based paints are durable and smooth, making them top picks for real wood furniture projects.
Conclusion
Transforming wooden furnishings with a fresh coat of paint can completely alter their appearance. Top tips for painting wood furniture have set you up for success, ensuring your pieces stand out.
Start by prepping right; it’s the foundation of a smooth finish. Then, pick the perfect paint and brushes—they’re your best allies in this creative journey.
Master those painting techniques; they turn good into great. And remember to protect your work; it deserves to last.
Tackling challenges? You’ve got solutions now. Let inspiration lead you next time you face an old piece begging for a makeover.
It’s not merely a matter of applying paint; it’s about reshaping with assurance, prowess, and inventiveness.